One of SharePoint’s nicer features is a rich alert system which supports change driven e-mail based alerts. Configuring SharePoint and Exchange Server 2007 to e-mail alerts is relatively straight forward for internal e-mail clients (I.E. those e-mail clients which are actually hosted by your Exchange Server). Configuration becomes much more difficult if you are attempting to alert SharePoint users at e-mail addresses which are NOT hosted on your Exchange Server. To accomplish this feat, you must relay the e-mail.
This is where the fun begins!
The Scenario
Your e-mail address is internal@yourcompany.com. Your SharePoint install at http://portal.yourcompany.com is setup to alert you of any changes to your document libraries. All is well in the world!
A new user is introduced to your SharePoint user list with an e-mail address of external@hotmail.com. This new user reports he is not receiving any alerts from SharePoint.
A quick review of the logs reveals the following error:
#160009: The e-mail address ‘external@hotmail.com’ is unknown.
Root Problem
Your exchange server is setup to disallow relaying. Under the hood, SharePoint is receiving the following error from Exchange:
550 5.7.1 Unable to relay
Solution
Enable relaying for your SharePoint server. Easy huh? Well… sort of.
STEP#1
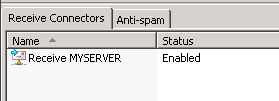
Open Exchange Management Console and navigate to Server Configuration –> Hub Transport. Find the Receive Connectors tab. You should see something similar to the image below:
STEP#2
Open the Receive connector and note all of the settings on each screen. Take good notes as you will need the settings later.
They will look similar to the images below:
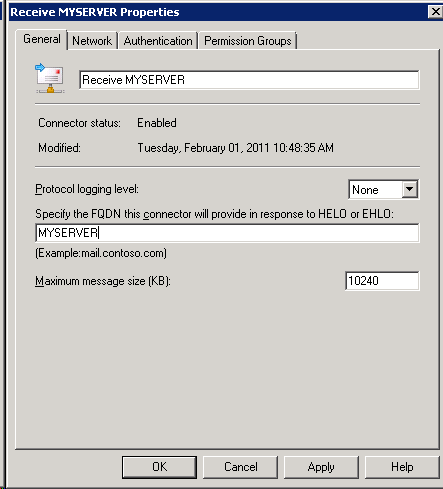

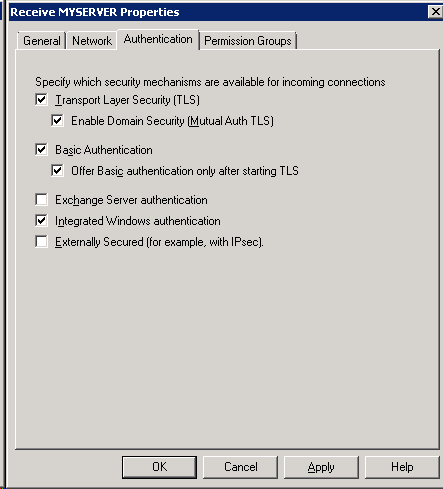
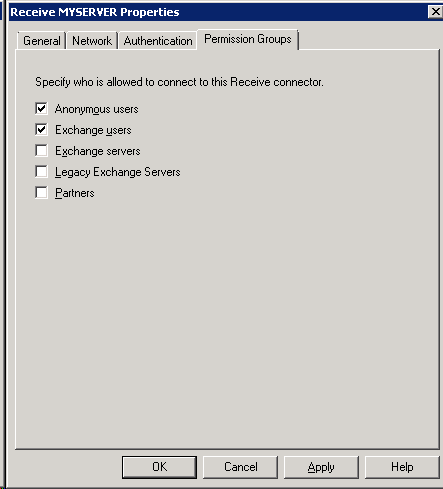
SCREEN#1 SCREEN#2 SCREEN#3 SCREEN#4
STEP#3
Remove the receive connector by right clicking on the connector and selecting Remove.
Why do we do this? Because Exchange Server 2007 appears to process the receive connectors in the order they were created. In the standard install, the default Receive Connector is configured to receive e-mail from ALL IP addresses. If you add the Relay Receive Connector AFTER the default connector, it will never be processed. You want your Relay to process first.
STEP#4
Create the relay connector
- Click New Receive Connector on the Action Bar located at the right of the Exchange Management Console.
- Name the connector, click Next.
- On the Local Network settings screen, modify as necessary.
NOTE: These will normally be the same as SCREEN#2 in STEP#2 above
Click Next - On the Remote Network settings screen, remove the default settings by click the red “X”.
- Add in the IP address of your internal SharePoint sever.
NOTE: If your SharePoint server is hosted on the same physical box as the Exchange Server, be sure to enter in the loop back IP address (IPv4 127.0.0.1, IPv6 ::1) as well as the actual IP address of the server.�
Click Next - Click New to create the Receive Connector, then click FinishBut wait, you are not done just yet!
- Right click on the newly created Received Connector and click Properties to edit the Receive Connector
- Select the Permission Groups tab
- Check the Exchange Server check box
- Select the Authentication tab
- Check the Externally Secured check box
Make sure all other check boxes are NOT checked. - Click apply to save your changes
Your new relay connector should look similar to the screenshots below
(Double click to enlarge)

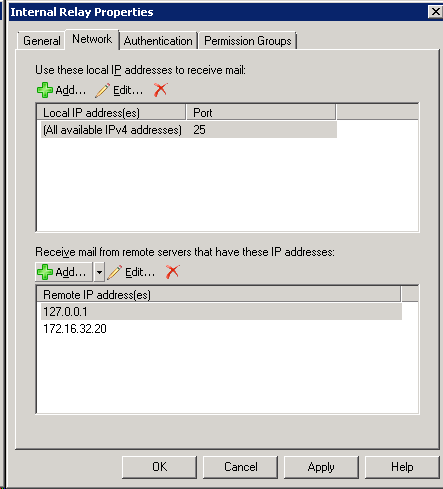

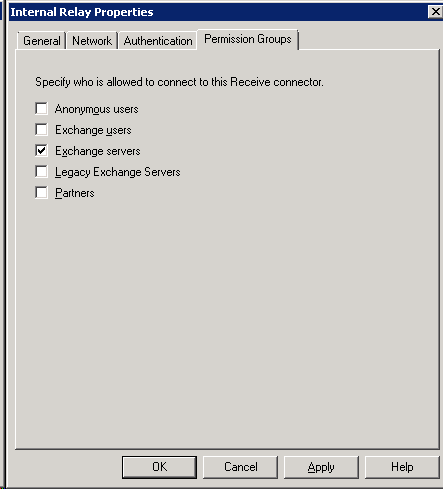
SCREEN#5 SCREEN#6 SCREEN#7 SCREEN#8
STEP#5
Recreate the original Receive Connector using the settings noted in Step#2
Your receive connector list should now look like the following:

STEP#6
Validate functionality
- Verify you can still send e-mail.
- Verify you can still receive e-mail.
- Verify SharePoint is now sending alerts to the external e-mail.
- Verify you have no open relays. This can be completed via any of the available open relay tests on the internet.